
Faulty Flap: 5. The ground
Step 5 of 6: Adding the ground
It's probably time to add something more visually appealing than the big black area at the bottom of the Frame which constitutes the ground so far.
![]() In the Frame Editor > Layers Toolbar make sure that Layer 2 is selected. From the Library Window drag ground.Activein the Frame at coordinates (0,656).
In the Frame Editor > Layers Toolbar make sure that Layer 2 is selected. From the Library Window drag ground.Activein the Frame at coordinates (0,656).
 ground.Active: ground
This is an Active object, the Bouncing Ball Movement is assigned to it with an initial Direction of 16 (left) and an initialSpeed of 25. Its Movement is enabled at start.
Of course we need more than 1 instance of ground.Active to fill the entire Width of the Frame. Right-click onground.Active and select Duplicate. In the dialog box type 1 for the Rows and 15 for the Columns then validate. We now have a total of 15 instances of ground.Active, hopefully this is enough.
Your Frame should look like this:
![]() Run the application. The ground objects quickly leave the Frame by the left leaving us with the plain black ground. Good thinking, we need some more wrapping!
Run the application. The ground objects quickly leave the Frame by the left leaving us with the plain black ground. Good thinking, we need some more wrapping!
![]() In the Event List Editor insert a new group of events called ground.Active and leave Active when frame startschecked. Move it to the end of the list of events. This group will exclusively contain events related to the ground objects.
In the Event List Editor insert a new group of events called ground.Active and leave Active when frame startschecked. Move it to the end of the list of events. This group will exclusively contain events related to the ground objects.
Then add the following event into it:
- (ground.Active) leaves the play area on the left
![]() (ground.Active) : Wrap
(ground.Active) : Wrap
What happens with this event? When ground.Active leaves the Frame by the left we Wrap its horizontal position to the opposite side of the Frame, just like we do with the pipes.
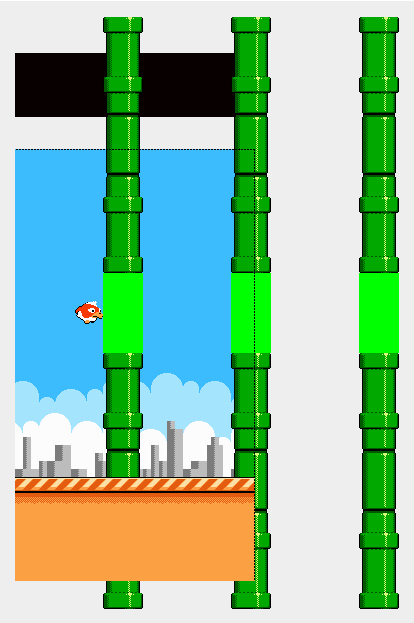
![]() Run the application. The ground objects are indeed repositioned to the right side of the Frame, but why is there a large gap?
Run the application. The ground objects are indeed repositioned to the right side of the Frame, but why is there a large gap?
Remember the Frame Property called Virtual Width, we have set it to 768 pixels earlier. This means that if we Wrap an object that is leaving the Frame by the left, it is moved at X coordinate 768 pixels. But the total horizontal space taken up by our ground objects is equal to 480 pixels only, i.e. 15 instances ofground.Active which is 32 pixels wide.
So to fill the gap we need 9 additional instances of ground.Active. Because with a total of 24 (15 + 9) instances ofground.Active, the total horizontal space taken up by our ground objects is equal to 768 pixels. That's a perfect fit!
![]() In the Frame Editor right-click on the right-most instance of ground.Active and select Duplicate. In the dialog box type 1 for the Rows and 10 for the Columns then validate. We now have a total of 24 instances of ground.Active.
In the Frame Editor right-click on the right-most instance of ground.Active and select Duplicate. In the dialog box type 1 for the Rows and 10 for the Columns then validate. We now have a total of 24 instances of ground.Active.
Your Frame should look like this:
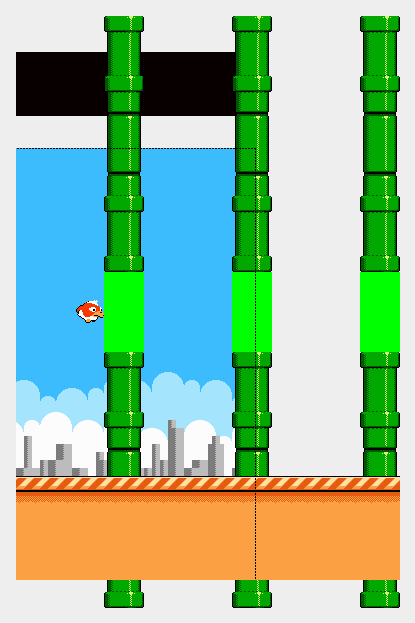
![]() Run the application. There is no gap anymore, and the whole game looks more engaging with this scrolling ground.
Run the application. There is no gap anymore, and the whole game looks more engaging with this scrolling ground.
We are not completely finished with the ground. It must stop moving when the bird hits an obstacle.
![]() In the Event List Editor add the following event in the Game.Outro group:
In the Event List Editor add the following event in the Game.Outro group:
- Only one action when event loops
![]() (ground.Active) : Stop
(ground.Active) : Stop
What happens with this event? Once that the Game.Outro group is activated we stop the Movement of the ground.
![]() Run the application. We are almost there!
Run the application. We are almost there!
Now that all the objects that make up the scenery are present in the Frame, we are going to give them some color variations.
In the Application Properties > Values tab create a new Global Value and rename it sceneryVariant. Set its default value to 3. We will store the current variant of the scenery into this Global Value.
Add the following event in the Game.Init group:
- Start of Frame
![]() : Set sceneryVariant to ( sceneryVariant + 1 ) mod 4
: Set sceneryVariant to ( sceneryVariant + 1 ) mod 4
![]() (pipe-top.Active) : Force animation frame to sceneryVariant
(pipe-top.Active) : Force animation frame to sceneryVariant
![]() (pipe-bottom.Active) : Force animation frame to sceneryVariant
(pipe-bottom.Active) : Force animation frame to sceneryVariant
![]() (ground.Active) : Force animation frame to sceneryVariant
(ground.Active) : Force animation frame to sceneryVariant
![]() (horizon.Active) : Force animation frame to sceneryVariant
(horizon.Active) : Force animation frame to sceneryVariant
What happens with this event? At the beginning of the game we set the Global Value sceneryVariant to an integer value cycling from 0 to 3.
We also set the Animation Frame of several objects to sceneryVariant so that they display a different image, indexed from 0 to 3.
In the above expression we use the mod (modulo) operator which returns the remainder of a division. It is often used to make a value wrap from 0 to a given value.
![]() Run the application. Every time you lose and play again, the Frame restarts and the scenery changes cycling through 4 variants. But something is wrong, isn't it?
Run the application. Every time you lose and play again, the Frame restarts and the scenery changes cycling through 4 variants. But something is wrong, isn't it?
Use the left-most button (Rewind) of the debugger to restart the Frame.
Let's fix the Background color of the Frame. Add the following events in the Game.Init group, right after the event we added previously:
- Start of Frame
+ sceneryVariant = 0
![]() : Set Background Color to GetRGB( 60, 188, 252 )
: Set Background Color to GetRGB( 60, 188, 252 )
- Start of Frame
+ sceneryVariant = 1
![]() : Set Background Color to GetRGB( 252, 160, 68 )
: Set Background Color to GetRGB( 252, 160, 68 )
- Start of Frame
+ sceneryVariant = 2
![]() : Set Background Color to GetRGB( 248, 120, 248 )
: Set Background Color to GetRGB( 248, 120, 248 )
- Start of Frame
+ sceneryVariant = 3
![]() : Set Background Color to GetRGB( 152, 120, 248 )
: Set Background Color to GetRGB( 152, 120, 248 )
What happens with these events? At the beginning of the game we check the value of sceneryVariant and change the Background color of the Frame. We use the GetRGB() expression available under the Special object, it allows us to enter the RGB values of a color. Those 4 colors are the ones used for the sky in the 4 Animation Frames of horizon.Active.
To get the RGB values of a color used in the image of an object, open the Picture Editor or the Animation Editor as you were going to edit the image. Then select the desired color with the color picker. The RGB values of the selected color are displayed below the color palette.
![]() Run the application. Now the Background color of the Frame matches the rest of the scenery.
Run the application. Now the Background color of the Frame matches the rest of the scenery.
Spread the word!
You can share this document using the following buttons.